

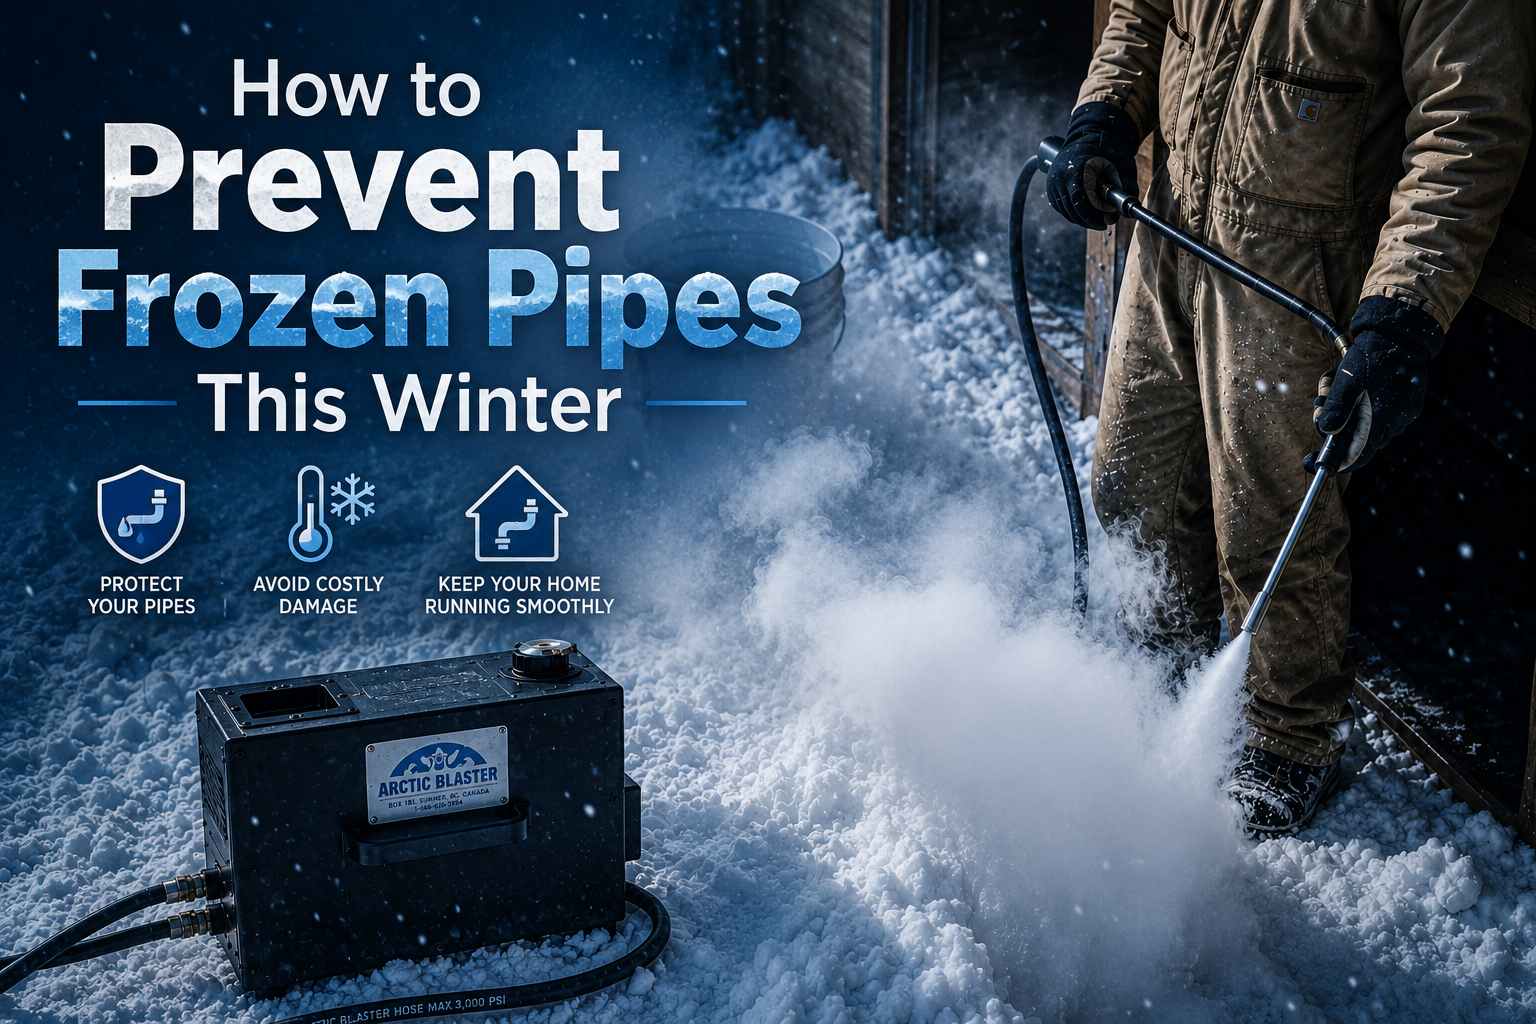
A frozen pipe is one of the most expensive winter problems a Canadian household can face. When water freezes, it expands. That expansion splits copper, cracks PEX fittings, and ruptures cast iron. The damage often hides behind a wall until the pipe thaws and starts to leak.
Most frozen pipe damage is preventable with a few hours of work before the first deep freeze. This guide covers what to do before winter, what to do during a cold snap, what to do if a pipe freezes anyway, and when to stop and call your public works department.
|
Quick answer Insulate pipes in unheated spaces. Seal air leaks where pipes pass through outside walls. Keep your home above 13°C, even when you're away. Disconnect outdoor hoses. During extreme cold (-25°C or lower), let one cold tap on each line trickle overnight. |
Why Pipes Freeze (and Why It Costs So Much)
Water does not freeze evenly inside a pipe. It freezes first where the pipe is coldest. Usually, that's a section running through an exterior wall, an uninsulated crawl space, an attic, or a garage.
Ice forms a plug. Pressure builds between the plug and the closest closed tap. That pressure is what bursts the pipe, not the ice itself. This is why a pipe can freeze in one spot and burst somewhere else entirely. It's also why letting water run during extreme cold helps. Moving water relieves pressure before it gets dangerous.
A single burst pipe routinely runs into five figures once you add up drywall, flooring, cabinets, and mould remediation. Prevention is cheap by comparison.

Before the Cold Hits: Pre-Winter Checklist
Work through this in late October or early November, before overnight lows drop below zero. Most steps take 15 minutes or less.
Outdoor Plumbing
-
Disconnect garden hoses, drain them, and store them inside. A connected hose traps water at the tap and is one of the most common causes of a frozen outdoor line.
-
Shut off the indoor valve that feeds each outdoor tap. Open the outdoor tap so any trapped water drains. Leave it open through winter.
-
If you have a frost-free yard hydrant, check that it drains properly. One that won't drain will freeze and split underground.
-
Cover outdoor taps with foam-insulated covers. They cost under $10.
-
Drain irrigation systems before the first hard freeze, or have your irrigation contractor blow them out with compressed air.
Indoor Plumbing in Cold Spaces
-
Find every pipe that runs through a garage, crawl space, attic, unheated basement, or outside wall. These are your risk zones.
-
Insulate exposed pipes with foam pipe sleeves. They slide on quickly and work as long as the pipe stays above freezing on at least one side.
-
For pipes that have frozen before, install thermostat-controlled pipe freeze protection cable. It plugs into a regular outlet and only draws power when the pipe drops below a set temperature.
-
Seal air leaks where pipes pass through outside walls or rim joists. Use spray foam for large gaps, caulk for small ones. A 6 mm gap can drop the pipe's surface temperature by 5 to 10°C on a windy day.
Whole-Home Prep
-
Find your main water shutoff and tag it. If a pipe bursts at 2 a.m., you don't want to be searching for the valve. Show everyone in the house.
-
If you'll be away for more than a couple of days in winter, set the thermostat no lower than 13°C. Lower than that, and pipes in outside walls can freeze.
-
If you're leaving for the whole season, shut off the main water supply and drain the system. There's more to winterizing your home in Canada before travel than plumbing alone, including heating, security, and insurance check-in requirements.
-
Service your furnace before winter. A furnace failure during a cold snap is how pipes freeze, even in well-insulated homes.
During a Cold Snap: What to Do When the Forecast Drops
Environment and Climate Change Canada issues extreme cold warnings when wind chill is expected to hit -40°C in southern Canada or -50°C in the North for two hours or more. Take the steps below when forecasts approach those numbers, with or without a formal warning.
On the Coldest Nights
-
Open cabinet doors under kitchen and bathroom sinks on outside walls. Warm house air can then reach the pipes.
-
Let one cold tap on each line trickle overnight. Pick the tap farthest from where the main line enters the house. Moving water resists freezing and relieves pressure if a plug starts to form.
-
If you have a basement laundry tub, leave one tap dripping there, too. It sits on the lowest line in the house.
-
Don't lower your thermostat at night. The 2 to 3°C drop most thermostats use by default is enough to push a marginal pipe over the edge.
-
Open doors to any rooms you usually keep cool. A closed-off room with pipes in the wall is a freeze risk.
|
Slow drains or sewer smell during a cold snap Your sewer lateral or vent stack may have frozen. This is different from a frozen supply line. Don't pour hot water down the drain because it can crack a cold cast-iron pipe. Call a plumber or your public works department. |
If a Pipe Has Already Frozen: Safe Thawing Steps
A pipe that froze but didn't burst can usually be thawed without damage. Move quickly but carefully.
How to Tell a Pipe Is Frozen
-
A tap that worked yesterday now gives you a trickle or nothing.
-
Visible frost or bulging on an exposed pipe.
-
Gurgling or clanging when you open a tap.
-
One fixture works (often the kitchen sink), but others on the same line don't.
If You Can Find the Frozen Section
-
Open the tap that the frozen pipe feeds. Melting water needs somewhere to go. An open tap also tells you when the thaw is complete.
-
Apply gentle heat to the frozen section. Safe options: a hair dryer on low, an electric heating pad wrapped around the pipe, a portable space heater pointed at the area (kept clear of anything flammable), or towels soaked in hot water.
-
Start at the tap end of the frozen section and work backward toward the cold end. This gives melting water a path out instead of building pressure.
-
Keep the heat on the pipe until full water pressure returns. Then check the pipe and the area around it for leaks. Even a small split can drip slowly for hours.
|
Never use a pipe to thaw a pipe Open flames (propane torches, blowtorches), kerosene or propane salamander heaters pointed at pipes, or any device producing flame in a closed space. Open-flame thawing is the leading cause of structure fires during Canadian cold snaps. It also damages the pipe. Copper softens, and PEX melts well below the temperatures a torch produces. |

If You Can't Find the Frozen Section, or It's Inside a Wall
Frozen pipes inside walls, under slabs, or in inaccessible crawl spaces are not a DIY job. You can't see whether the pipe is already cracked, and applying heat to a cracked pipe means water flooding into a wall the moment it thaws.
Shut off the main water supply, open a tap on the affected line to relieve pressure, and call a licensed plumber. If the freeze is in the service line between your house and the street, call your public works department first. The freeze may be on their side of the property line.
Frozen Service Lines, Culverts, and Sewer Laterals: What Crews Use
When a freeze goes beyond a single household, the standard tool is a portable steam thawer. Typical jobs include a frozen water service between the curb stop and the house, a frozen sewer lateral backing up a whole property, or a culvert iced solid under a rural driveway.
Municipal public works crews and rural water co-ops across Canada use portable steam thawing machines because they work in conditions that defeat almost everything else. No electricity needed. Effective in temperatures as low as -40°C. Safe to use on pipes that run underground or through walls.

How Steam Thawing Works
A small water tank is heated by a propane torch from below. The water boils and produces dry, pressurized steam at around 230°F (110°C). A long flexible hose feeds that steam into the frozen pipe. The steam meets the ice plug, releases heat as it condenses back to water, and melts the ice from the inside out.
The heat is delivered inside the pipe, not applied to the outside. There's no risk of fire, no risk of cracking the pipe, and no surface that has to be exposed. A crew can thaw a 30 metre buried water service from a single access point in about 15 to 20 minutes in most conditions.
The Arctic Blaster: The Unit Most Canadian Crews Carry
The Arctic Blaster is a Canadian-made portable steam thawer. Public works crews, rural utility districts, plumbers, contractors, and farmers across Canada have used it for decades. It runs on a propane tiger torch (no electricity, no generator), holds 8 litres of water (about 2 US gallons), and reaches operating temperature in 8 to 10 minutes.
Each fill gives you about 15 minutes of dry steam. In one fill, it can thaw most lines up to 100 feet (30 metres). It's rated for use down to -40°C, which matches working conditions across most of Canada.
Homeowners generally don't need to own one. Your municipality, your plumber, or your local utility co-op almost certainly already has one. If you call out a frozen service line, ask whether they steam-thaw. The answer is almost always yes. For service lines specifically, some crews also use water service line de-icers that pulse hot water through a probe rather than steam.

When to Call Your Public Works Department
-
No water in the house, taps fully closed at the meter. The freeze is likely in the service line between the street and the house. In most Canadian municipalities, the line up to the property line is the utility's responsibility. Call them first.
-
Sewer backing up into the basement during a cold snap. This is usually a frozen sewer lateral or main, not a regular blockage. Public works has the steam equipment to clear it.
-
Frozen culvert flooding your driveway or rural road. Culvert thawing on public roads is almost always a municipal or county job.
-
Multiple neighbours are reporting low pressure or no water. This is a main-line issue. Report it and stay off the line so they can locate it.
After the Thaw: Damage Check and Insurance
Once water flow returns, the work isn't over. A pipe that froze without bursting may still have a hairline split that leaks slowly for days before showing up as a stain on a ceiling.
What to Check
-
Walk every section of pipe you can see. Look for wet spots, drips, or fresh corrosion.
-
Check the ceiling and floor under any pipe that was frozen. Run your hand along it. Moisture you can't see is often warm or cool to the touch.
-
Listen to the main shutoff. If you hear hissing or trickling with every tap in the house closed, you leak somewhere.
-
Check your water meter for movement when no water is in use. If the dial moves, you leak.
If You Find Damage
Shut off the water at the main, document the damage with photos before you clean up, and call your insurance provider before you tear out drywall or flooring. Most home insurance policies cover sudden frozen pipe damage, but require notification and documentation steps. Skipping those steps can void coverage.
Frequently Asked Questions
At what temperature do pipes freeze?
Most uninsulated pipes are at risk when the air around the pipe drops below -6°C (about 20°F) for a sustained period. Wind, exposure, and how long the cold lasts matter more than the lowest temperature. A pipe in a wall at -8°C for 12 hours is at higher risk than the same pipe briefly hitting -20°C overnight.
Should I leave taps dripping all winter?
Only during extreme cold. Use this trick when overnight lows drop below -25°C or when an extreme cold warning is in effect. Continuous dripping the rest of winter wastes water and won't help. The point is to keep water moving through pipes that are at risk.
Can I use salt or chemical de-icer on a frozen pipe?
No. Salt and de-icers are made for ice on surfaces like roads and walkways, not the inside of plumbing. They won't reach an ice plug inside a sealed pipe, and the chemistry can damage fittings, seals, and household appliances downstream.
How long does it take to thaw a frozen pipe?
An accessible interior pipe usually thaws in 30 to 45 minutes with a hair dryer or heating pad. A buried service line thawed by a public works steam crew typically clears in 15 to 20 minutes once they're on site. A pipe inside a wall or under a slab takes longer because heat has to get through the wall first.
Who pays when a frozen service line needs to be thawed?
In most Canadian municipalities, the water service line from the main to the property line (the curb stop) is the utility's responsibility. The line from the curb stop to the house is the homeowner's. Some municipalities offer free emergency thawing during extreme cold events. Call your public works department to ask before you book a private plumber.
Is a frozen sewer line the same as a frozen water line?
No. Sewer lines freeze less often than supply lines because they're not under pressure, and they drain after each use. But they do freeze in extreme cold, especially if a vent stack ices over or a lateral has a low spot. Symptoms are slow drains, gurgling, or sewage backing up. Sewer thawing almost always needs steam. Call a plumber or your public works department.
What's the difference between heat trace and pipe insulation?
Pipe insulation slows heat loss but doesn't add heat. It works when the pipe stays above freezing on its own, like an interior pipe in a cold but heated basement. Heat trace cable actively warms the pipe and is for pipes that would freeze on their own without it (outside pipes, exposed runs, well house piping). Use insulation for marginal cases and heat trace for high-risk pipes.
Do I need to do anything different for a frozen well or cistern line?
Yes. Well pumps and the lines feeding them sit in unheated well houses and can freeze hard. If your pump won't start in cold weather, don't run it dry. That damages the pump. Thaw the line first (steam is the safest method), then bring the pump back online. Insulate the well house before next winter.